Mini-split Installation in Sopchoppy, FL

Mini-split installation in Sopchoppy, FL covers every step from initial site survey to post-install support tailored to local conditions. The guide explains accurate unit sizing, optimal indoor and outdoor placement, electrical requirements, refrigerant handling, and commissioning procedures to ensure reliable performance. It also outlines warranty coverage, maintenance recommendations, and timelines for permitting, installation, and handover, emphasizing corrosion resistance and storm-ready installation in coastal conditions. Homeowners gain a clear, professional roadmap for achieving consistent comfort and long-term system reliability.
Mini-split Installation in Sopchoppy, FL
An efficient, properly installed mini-split can solve year-round comfort problems for Sopchoppy homes that battle hot, humid summers and occasional storm conditions. This page outlines a complete mini-split installation process so you know exactly what to expect: from the initial site survey and unit sizing to professional refrigerant handling, commissioning, and post-install support tailored to local conditions in Sopchoppy, FL.
Why a mini-split makes sense in Sopchoppy, FL
Sopchoppy’s hot, humid climate increases cooling loads and makes dehumidification a priority. Mini-splits with inverter compressors and multi-stage dehumidification provide consistent comfort while using less energy than many window units or undersized central systems. Salt air and storm exposure near the Gulf mean outdoor unit siting and corrosion resistance are also important concerns for long-term reliability.
Common mini-split issues in Sopchoppy homes
- Improper sizing: Units that are too small can run continuously and fail to control humidity. Oversized units short-cycle and reduce comfort.
- Poor outdoor siting: Exposure to salt air, flooding, or high winds can shorten condenser life if not sited or secured properly.
- Inadequate electrical supply: Older homes may lack a dedicated 208/230V circuit or proper disconnect.
- Improper refrigerant charging: Leads to low efficiency, poor cooling, and potential compressor damage.
- Drainage problems: Flat or blocked condensate lines cause leaks and mold growth.
Initial consultation and site survey
- Review your comfort goals, budget, and any access or aesthetic concerns.
- Inspect the home’s envelope: insulation, window exposure, attic ventilation, and existing ductwork (if any).
- Measure spaces, note sun exposure and humidity-prone areas (kitchens, bathrooms), and identify best wall/ceiling locations for indoor units.
- Evaluate electrical service capacity and route for outdoor unit placement, considering prevailing winds, storm exposure, and local salt conditions.This step ensures the correct system type, capacity, and layout for Sopchoppy’s climate.
Unit selection and sizing guidance
- Choose inverter-driven mini-splits for efficient modulation and better dehumidification in hot, humid conditions.
- Sizing is based on square footage, insulation quality, ceiling height, window areas, and heat-generating appliances. For Sopchoppy homes, plan slightly higher sensible and latent loads to address humidity.
- Consider multi-zone systems if you want independent temperature control in bedrooms, living areas, or additions.
- Opt for outdoor units with corrosion-resistant coatings and elevated mounting options in areas prone to flooding or storm surge.
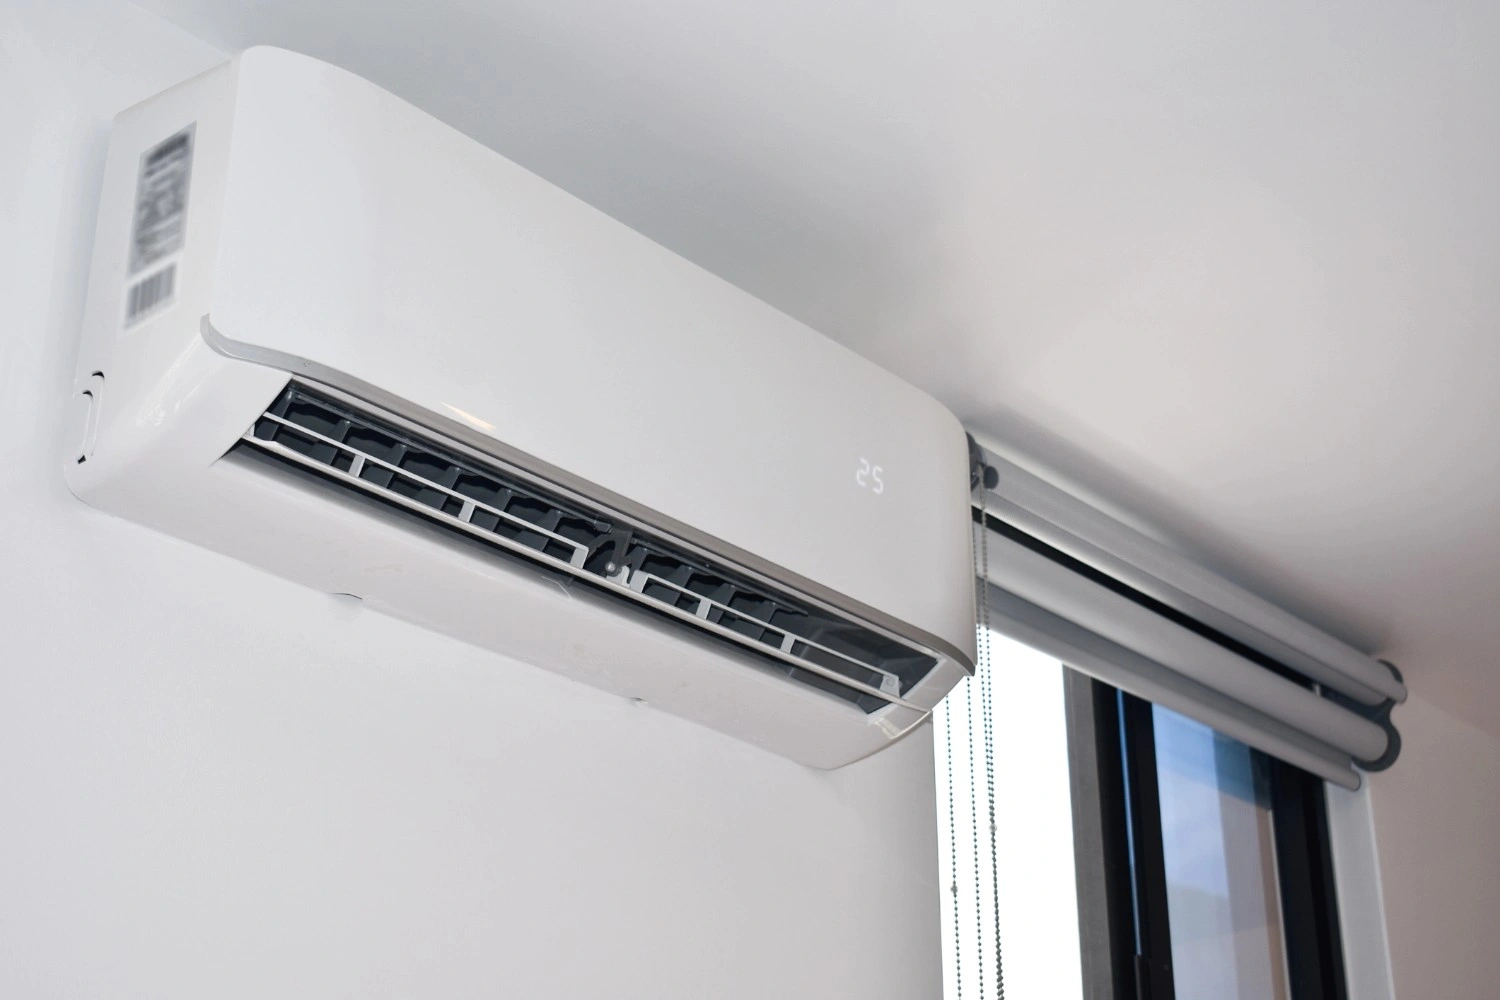
Recommended indoor unit placement and outdoor condenser siting
- Indoor units: place high on interior walls away from direct sunlight and obstructions for even airflow. Avoid installing above heat sources or where drafts from doors will interfere with performance.
- Outdoor unit: mount on a concrete pad or galvanized/painted bracket, elevated above potential water pooling, and sheltered from prevailing winds without obstructing airflow. In Sopchoppy, choose locations that minimize direct exposure to salty breezes and allow easy service access.
- Maintain manufacturer clearance for airflow and service.
Required electrical work and permitting
- Most mini-splits require a dedicated 208/230V single-phase circuit and an appropriately sized breaker. Newer, higher-capacity models may have specific voltage or amperage needs.
- A disconnect within sight of the outdoor unit and GFCI-protected circuits for condensate pumps or accessories may be required.
- Permits and inspections are typically required by Wakulla County or local jurisdiction. Work must comply with Florida building and electrical codes and should be performed by licensed professionals.
Professional refrigerant line installation and vacuuming/charging procedures
- Line sets must be routed with proper slope and insulation to prevent oil and moisture traps. Protect lines passing through exterior walls.
- Technicians perform a pressure leak test, evacuate the system to deep vacuum (commonly to 500 microns or better) to remove moisture, and charge the system per manufacturer specifications.
- Charging may be by measured refrigerant weight, or by superheat/subcooling method for field-charged systems. Proper charging ensures efficiency and compressor longevity.
Commissioning and system testing
- After installation, technicians perform these checks:
- Leak and pressure tests
- Proper vacuum level verification
- Correct refrigerant charge and oil return checks
- Electrical connections and breaker sizing
- Thermostat or controller configuration and Wi-Fi pairing if applicable
- Airflow, temperature delta, and dehumidification performance
- Drain line slope and condensate removal operation
- A full run test confirms stable operation and verifies zoning or smart integration functions.
Smart thermostat and zoning integration options
- Many mini-splits offer built-in Wi-Fi controls and app-based scheduling for remote access and energy monitoring.
- Multi-zone systems allow individual thermostats per room or area for precise comfort and energy savings.
- Zoning can reduce wasted cooling in unoccupied rooms and improve humidity control in frequently used spaces.
Customer preparation checklist
- Clear a 3 to 6 foot area around proposed indoor and outdoor unit locations for safe access and equipment staging.
- Ensure power access and clear path for installation crew vehicles and equipment.
- Remove fragile items from near installation sites and secure pets.
- Expect some drilling through exterior walls for line sets and electrical conduit.
Warranty and post-install support
- Manufacturer warranties cover compressor and parts; labor warranties vary by installer. Verify both before installation.
- Post-install support should include system walkthrough, controls training, and documentation of refrigerant and electrical settings.
- Regular maintenance (annual or semi-annual) preserves efficiency and warranty validity: filter cleaning, drain inspection, and outdoor coil rinsing are standard.
Typical timeline for Sopchoppy installations
- Consultation and site survey: usually same day or within a few days.
- Permitting and inspections: commonly 1 to 2 weeks depending on Wakulla County processing times.
- Installation per unit: typically 4 to 8 hours for a single-zone split, longer for multi-zone systems.
- Commissioning and handover: 1 to 2 hours after installation.Overall, expect the complete process from survey to final inspection to take from several days up to a few weeks depending on permit turnaround and system complexity.
Long-term benefits and maintenance advice
- Properly installed mini-splits deliver consistent temperature and humidity control, lower energy use, and quieter operation compared to many alternatives.
- In Sopchoppy, choose corrosion-resistant outdoor units and ensure secure mounting to withstand seasonal storms.
- Schedule routine maintenance to maintain efficiency, protect warranties, and extend system life.
This outline gives a clear picture of what a professional mini-split installation in Sopchoppy, FL involves so you can evaluate options and ensure the system meets local climate demands and code requirements.
hear what our satisfied clients have to say
.avif)

I have nothing but great things to say about this company! From the initial call to trouble shoot our old system to the installation of the new system. Maya was awesome and patient with us and the bank. Stratton, Wilton, and Austin did the removal and install of the systems and they were professional and proficient. I will be recommending this company to everyone and anyone! Thank you for making this less stressful then it needed to be. I'm very grateful for the help and comfort they have given me and my family.
We’ve had issues with our a/c unit freezing up off and on for a month or so. Aden from Keith Key came out and checked our system out. He fixed an issue with the bypass valve and also tuned our fan. Additionally we also replaced our thermostats with new T10’s. He took his time and helped me connect all of them to the WiFi and the app.Aden is very friendly and knowledgeable. I haven’t had an issue with my system since. He was also willing to accept the assistance of our overly helpful shih tzu. Call Keith Key and Aden for any issues with hvac systems, they can get it fixed!
Tryston was amazing! So knowledgeable, pleasant and respectful. Keith Key H/A will forever have my family's business
We had a tenant with no heat during the recent 29 degree weather. I called Keith Key Heating and Air before office hours and left my infomation with their answering service. I got a call back from the office promptly at 8:00 a.m. They were able to schedule us for service the same day. The technician arrived at noon, diagnosed the issue and made the repair. The price was quite reasonable. Everyone that we dealt with was friendly, professional and knowledgeable. I would highly recommend them and will be using them again in the future. Thanks Keith Key Heating & Air!!
Heat wasn't working after the sleet storm and being without power for 18 hours. Keith Key sent Trystan the same day as my call. He did a great job (very personable) and got it repaired in no time. Many thanks!
Keith Key HVAC is wonderful! They service our HVAC and just helped me with a super stressful heating issue while I was out of state. They are very organized and professional, and take extra time to explain and follow up. I just love them!
We've called on Keith Key Heating and Air twice for help. Both times, they responded quickly, and were able to make repairs quickly. The techs we've dealt with have been friendly, reliable, professional and knowledgeable. And they don't dig in your pocket like some have been known to do. I honestly don't know what more we could ask for. A solid 10 of 10, and we highly recommend.
Had to replace my AC and Heating unit. Keith Key Heating and Air was very helpful in finding the right unit money wise for me. The young men they sent was courteous and knowledgeable. They made sure everything was up to my standards before they left. If you have trouble I would highly recommend them to you.
Keith Key regularly services both our personal home and one of our rental properties! They are good about communicating to us about the condition of the units at the rental property which is such a relief! We have had to call them for 2 emergencies and both times the techs appeared happy to be there helping us despite being on the weekend! 10/10 recommend.
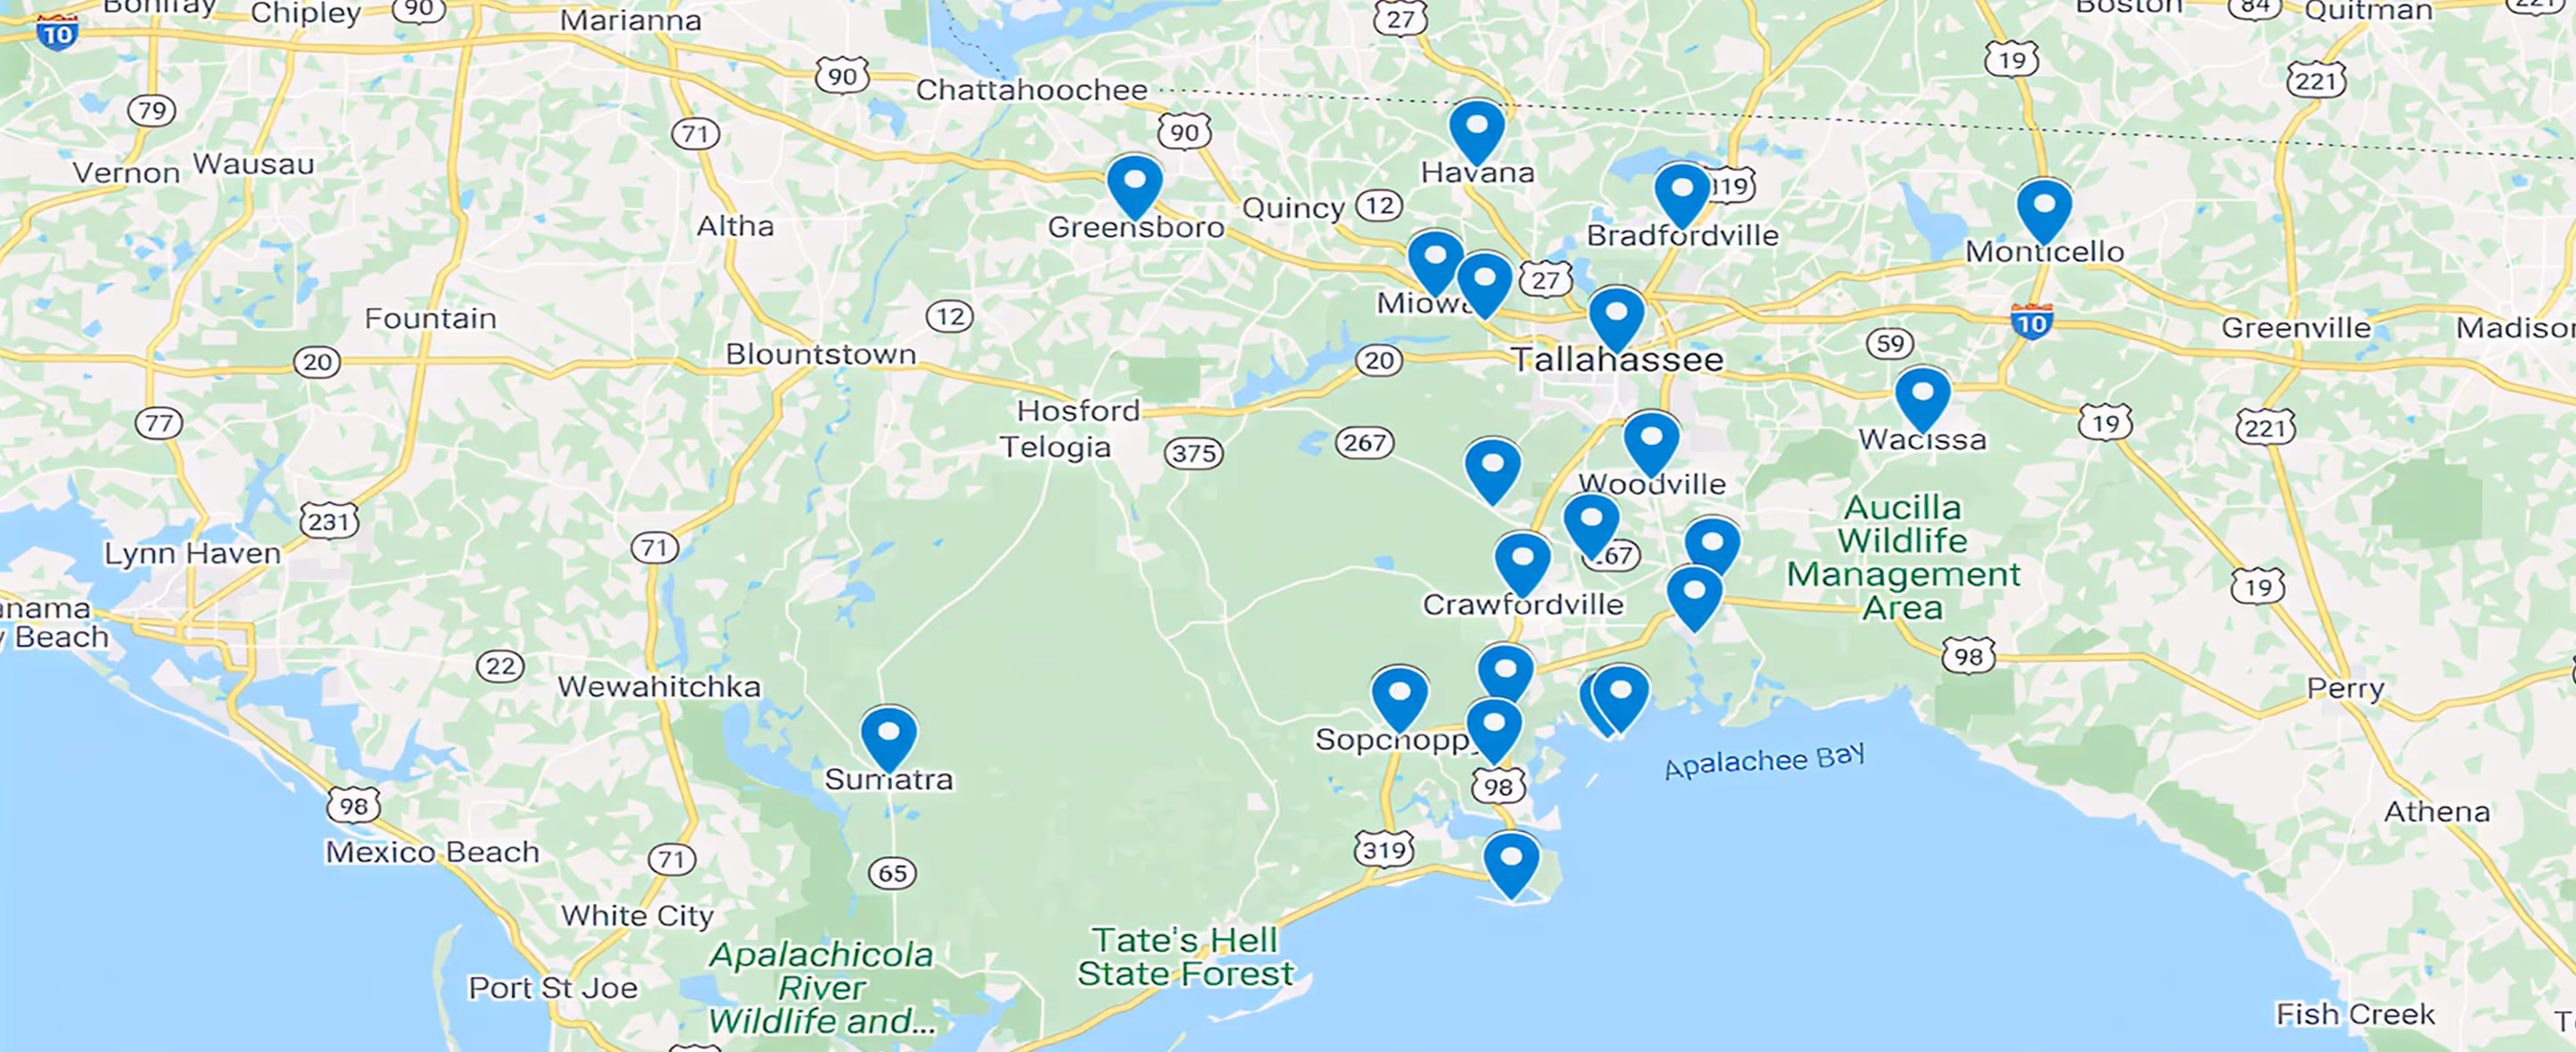
Service Areas